Child of Mind

  • About
  • Music
  • Blog
    • Music News
    • Eyes on the world
    • Traveller's Diaries
  • Live
  • Newsletter
  • Contact

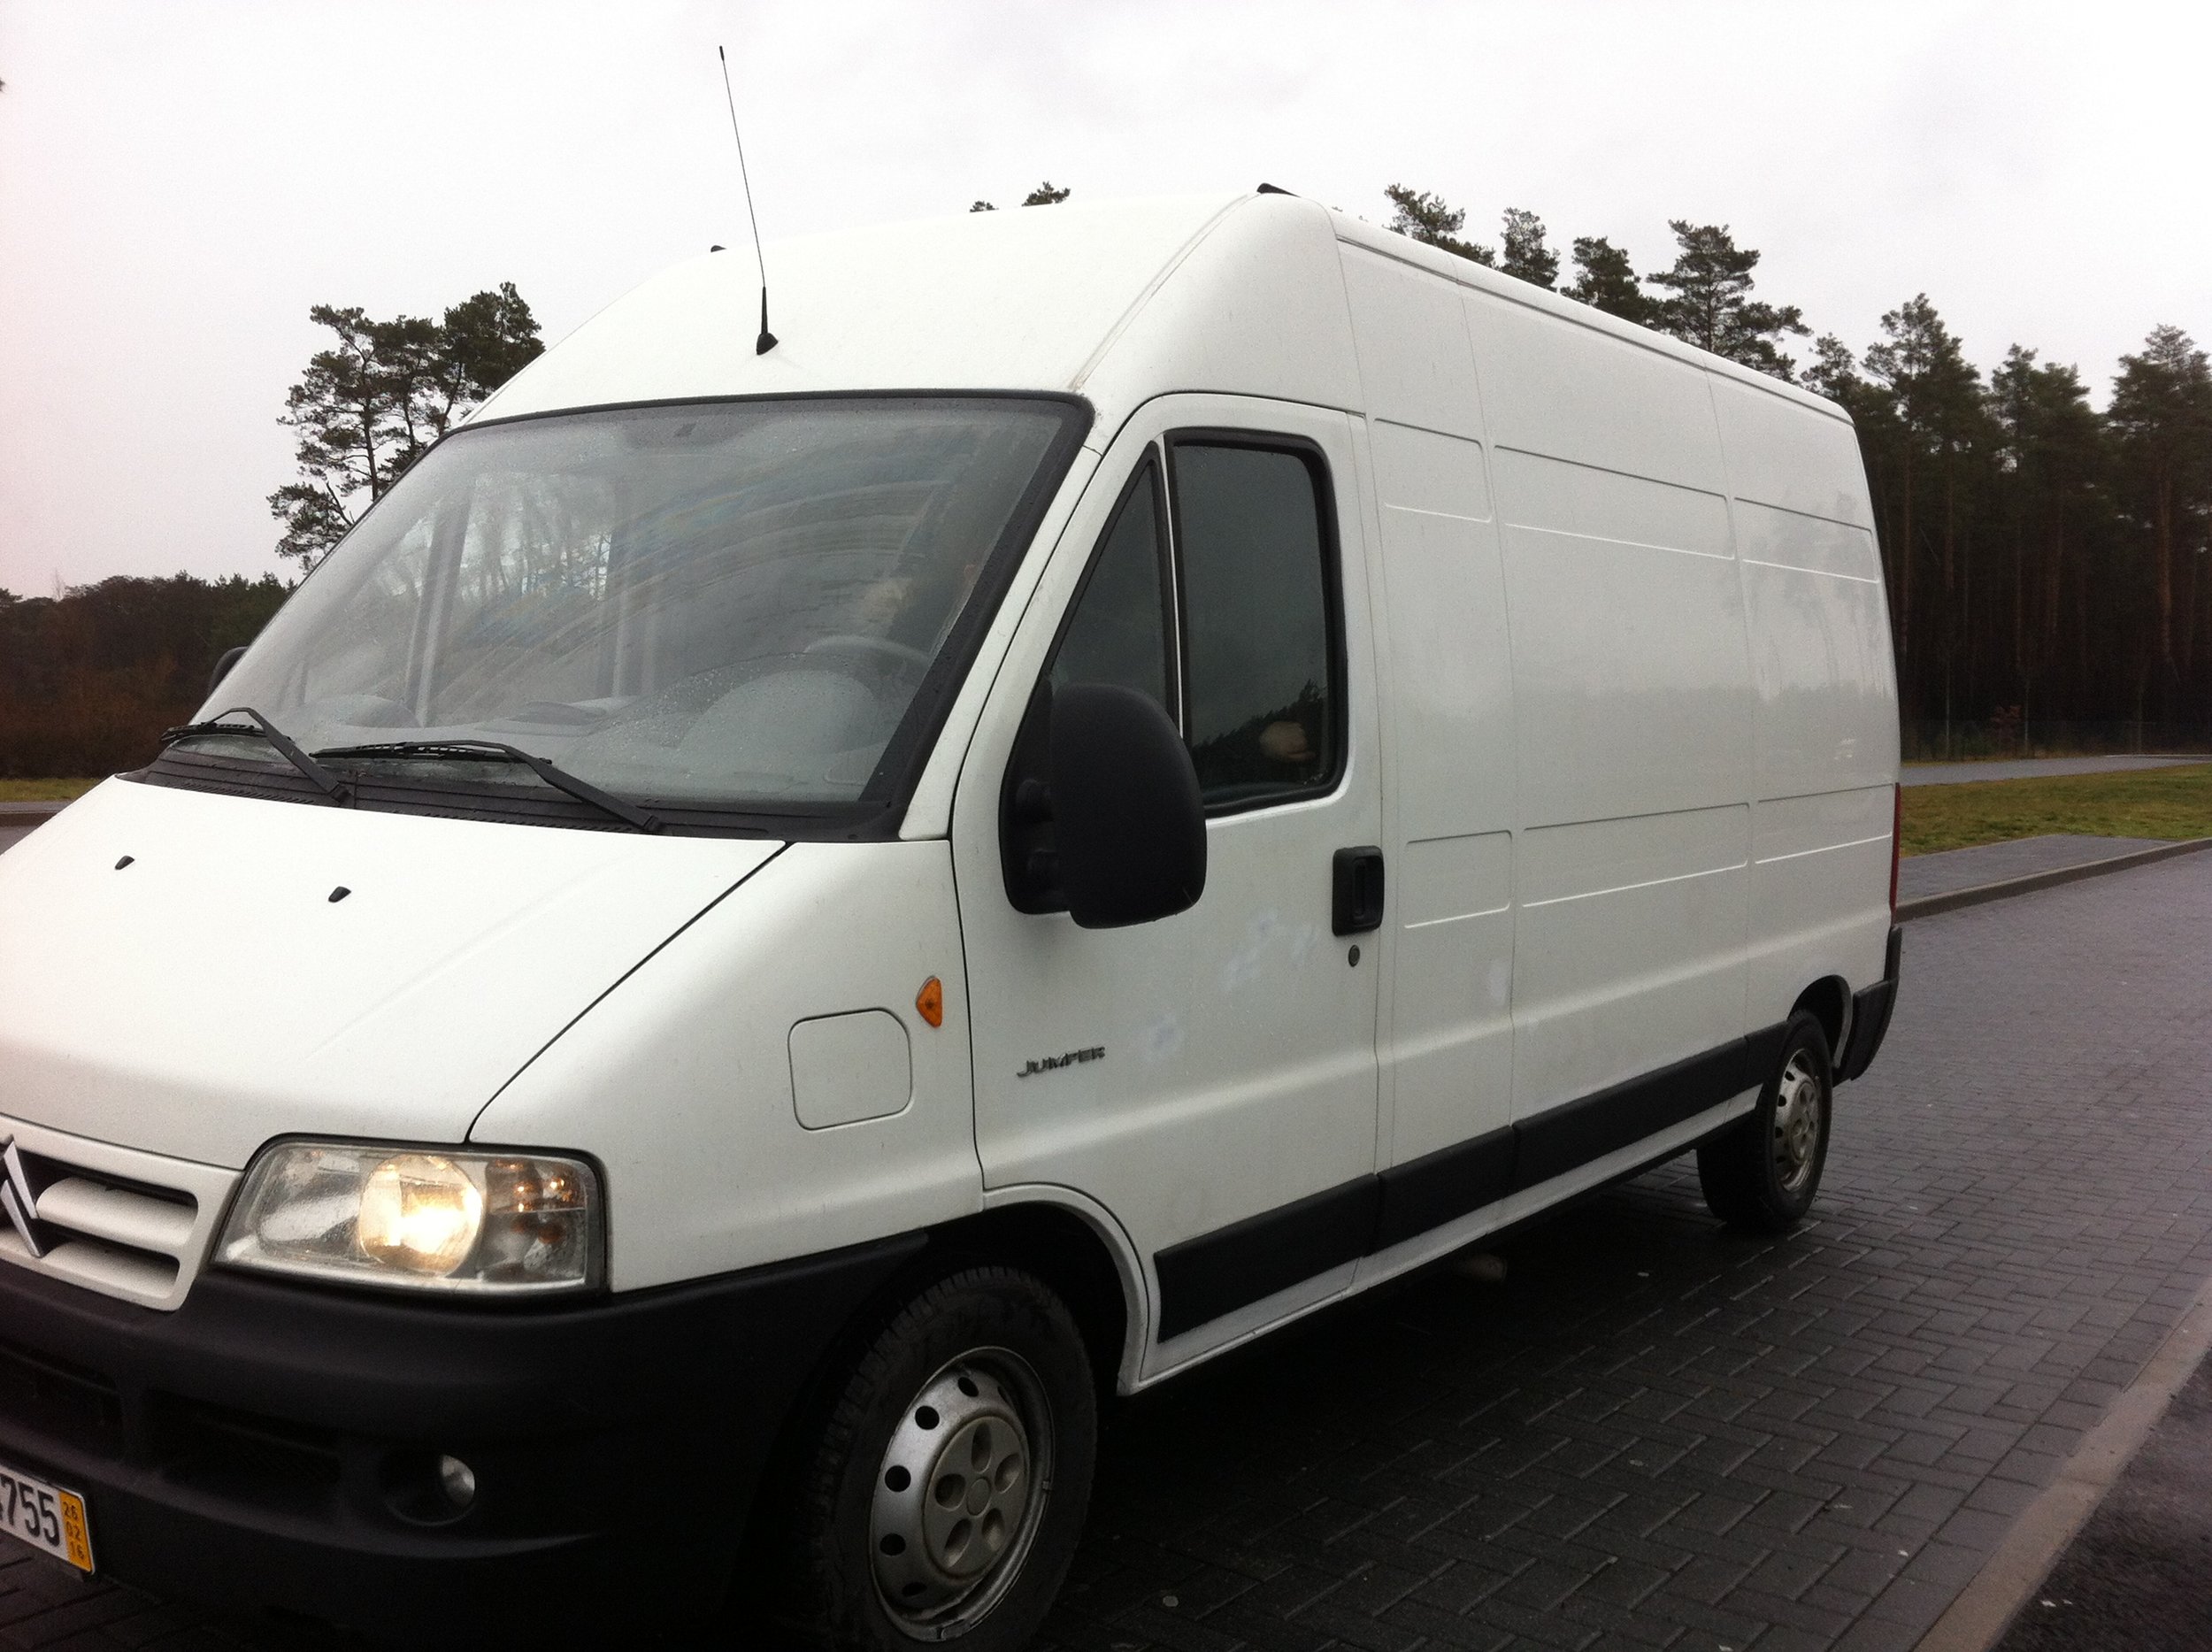
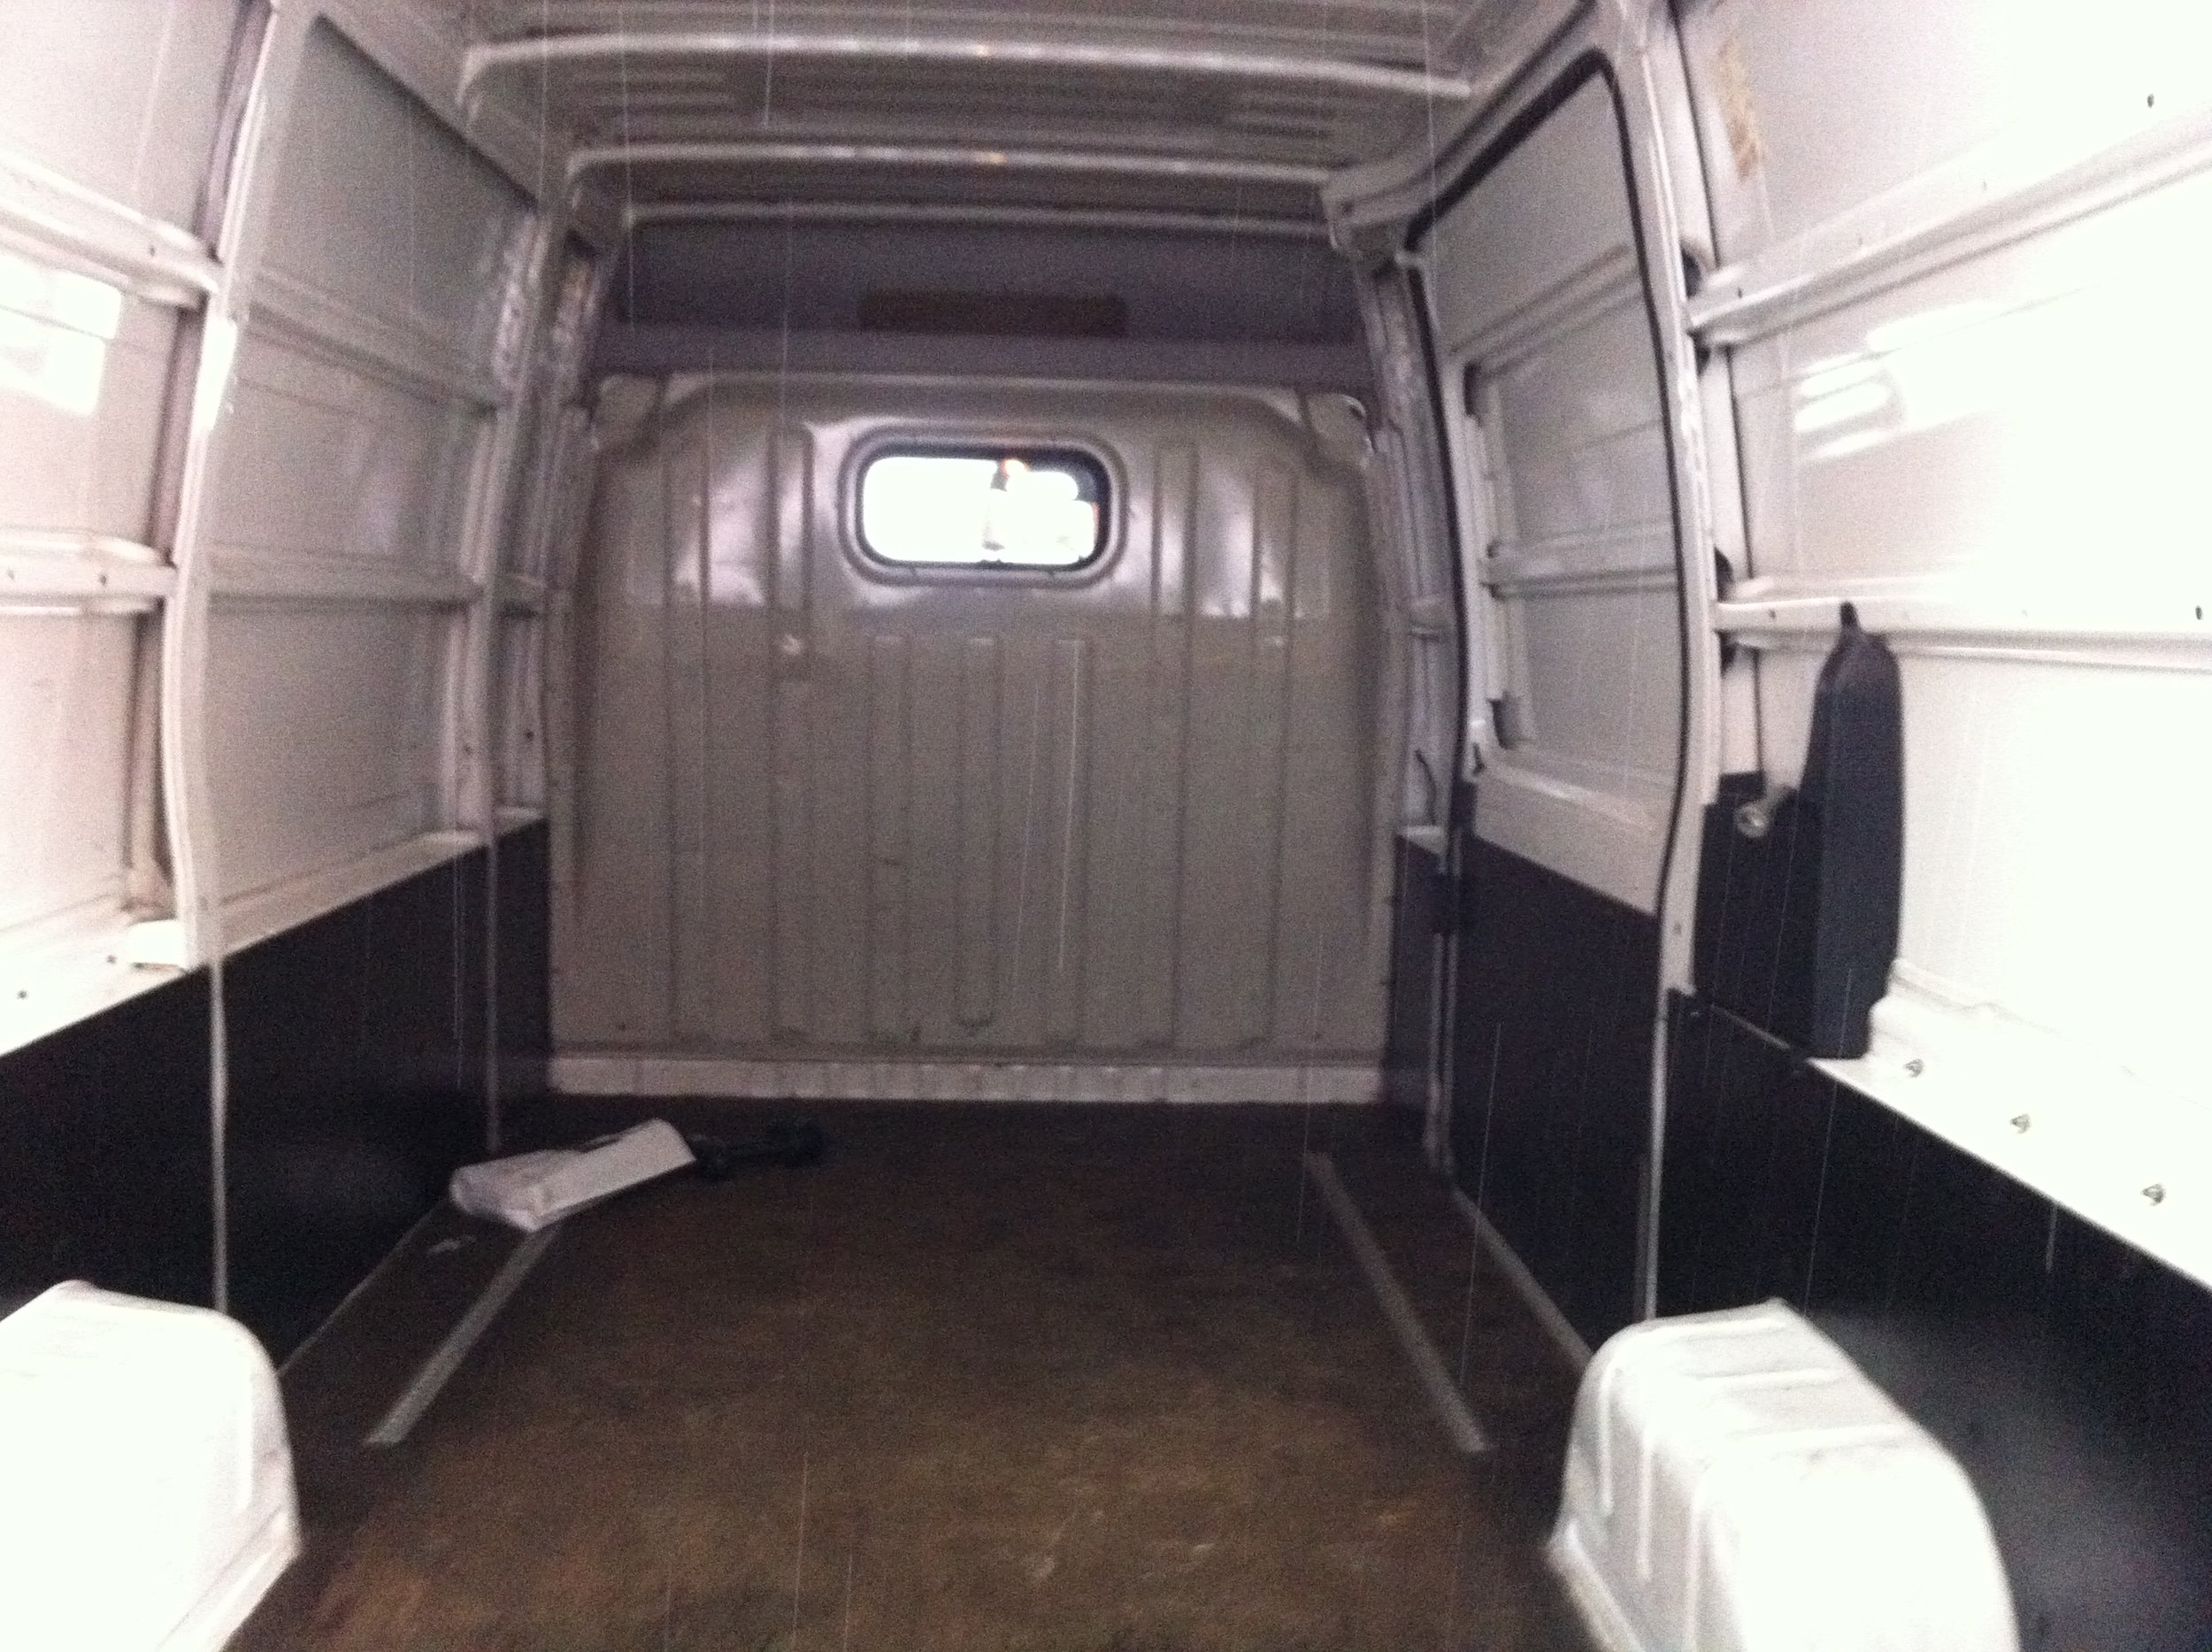
The conversion part 4

March 05, 2017 by Declan Galbraith

Cupboards

Cupboard Diagram.png

Our main concern when it came to cupboards was weight. We wanted them to be as light as possible as we knew they’ll only be held by a few screws and apart from holding the weight of the cupboards themselves, the screws would also of course need to support the weight of what’s inside. So first of all we came up with a shape that considers the slanting of the walls at the rear end of the van. Importantly though, the shape and size needed to give us enough space to store everything, while at the same time not being too big so we don’t bang our heads every time we get out of bed! Not easy to find the perfect balance that’s for sure. 

Basically we built them as light but sturdy frames, with thin panels closing them off and making them look like proper cupboards. The bottom and top parts are 3mm mdf which is very light but covering a small space, still strong enough to carry our things. The sides are made of 6mm plywood which we glued and nailed and the door is also 6mm plywood.

CUPBOARD COLLAGE.jpg

Chairs and Table

TABLE&CHAIR COLLAGE.jpg

We wanted the design of the chairs to be as easy as possible and also to provide storage. Basically just boxes, one built between the frame of the kitchen and the bed and the other chair opposite was built in front of the side door. This is nice as in summer you can have the door open and just sit there enjoying the view. The chair next to the kitchen provides us with storage for the grey water tank and now also for our newly connected gas heater. The other one provides storage for food. We left the back of the side door chair open so that it’s easy to fill with stuff when coming back from the shops and the seat also folds up so you can access all the food from inside the van. The picture below make this a bit clearer.  

Table diagram.png

The table was a little bit tricky to design at first. We weren’t 100% sure what would be the best kind of set-up for our needs. We also realised at one point that once the table is up there is a tiny amount of space between the kitchen and the end of the table so it would be very difficult for the person sitting next to the kitchen to get in and out. This is what inspired us to design something that slides to the left and right. We also didn’t want something that is always in the way because that would just be very frustrating in such a small living space. For his reason the table is not only slidable but also foldable and perfect for our needs. Finally we put two layers of varnish on everything which gives it all a nice classy look, protects it all from moisture and makes it easier to clean/wipe down.

TABLE&CHAIR RESULT.jpg

The kitchen

This is our little power hub. The simple but sturdy frame, (which we already introduced in an earlier post), manages to hold our 70L freshwater tank, our compressor cool box (fridge), the water pump system, gas manifold and to the side of it, a toilet room/shower area. The tank and fridge we bought new and the fridge especially was an important investment as we wanted a powerful but efficient (low energy) model that would last us a long time. Finding this perfect combination in one model was not easy and we ended up buying three fridges before finding the model we have now from the company Waeco. At first our priority was to find a three way model which is a cool box that runs on 230V,12V and gas. We wanted to be able to switch to gas mode in case we, so to speak, run out of sun and therefore electricity. A 3 way cool box is mostly a toolbox that works through absorption technology which is also completely silent and we thought that this would be very important in such a small place. So with all of these requirements in mind, we ended up buying a used model in an adrenaline filled auction on eBay. Unfortunately though, this turned out to not work on 12V anymore and the overall condition was pretty poor.

KITCHEN COLLAGE.jpg

So after this bad experience, we decided to buy a new model. We made, what we thought was a well informed decision, to buy a powerful model from a well established camping equipment company called Dometic. It was in perfect new condition, looked good and fit perfectly in the allocated space under the kitchen worktop. Unfortunately though, we didn’t pay enough attention to the energy consumption and after having it run for 4 days it drained our battery completely. We read lots of good reviews from people with camper vans but what we only realised afterwards was that these people were most likely running the fridge on external, camp-site power and not solar power. 

So after all this frustrating rigmarole we are now the owners of a beautiful compressor cool box that uses next to no energy at all, while still managing extremely good cooling performance. Our worries of the compressor being too loud were all nonsense, as once the fridge reaches the desired temperature, it very rarely even comes on and it’s not loud at all. Using it on gas in an emergency is unfortunately not an option this fridge offers but because it is so efficient we have never run out of battery with it. The other good thing about it is it can even be put on to a freeze mode!

Yes, these are the things you get excited about when building a camper van.

Donate
March 05, 2017 /Declan Galbraith

The conversion part 3

January 16, 2017 by Declan Galbraith

Now we focused on home comforts and everything that was necessary to really make the camper a liveable space. This was our plan:

We thought of it like a shell working from the outermost points in to the centre. The first step was insulation. After all, we didn’t want to be cold. 

Insulation

The main idea behind the insulation is that it stops the warm air from inside the van escaping to the outside, which it naturally does until there is no temperature difference between the inside and outside anymore.

There are a few different kinds of materials that can be used to achieve this. Insulation is a tricky matter however and keeping warmth in while allowing the van to ‘breath’, (so mould doesn’t build up), can become quite complicated. After much research and with our budget in mind, we decided to go for a mixture of materials or layers. Firstly, we closed all the big cavities along the bottom of the van with expanding foam. We tried to not use too much of this as it doesn't go far and you'd have to use tonnes of the stuff if you wanted it to be your main insulator. Then we began with the real 'layers' of insulation. The first layer was a self-adhesive reflective foil that we bought on eBay. This material is basically just meant to reflect heat back in to the van. We cleaned all the inner-walls so they were free of grease and dirt and stuck the foil everywhere, even applying it to the floor.  Easy and quick!

For the second layer there are a variety of different options.  This layer acts as a kind of bulk insulation which is meant to restrict airflow, locking warmth in. The material you use for this layer of insulation can vary depending basically on how much you want to spend. The most expensive kind, normally seen in high-class, pro-build conversions is a very dense foam. This can be bought on a roll or as separate panels and is easy to use and probably very effective but like I say, it's the most expensive of all the options. Other materials available include, polystyrene, fibre wool, sheep wool and cork matts. We decided to go for an 'eco' fibre wool as we believed it to be quite efficient in terms of insulation but also not too expensive. A nice benefit about it as well is it's soaked in oil so it doesn’t itch and there aren’t any particles flying around for us to breath in. We were really pleased with this stuff. One roll was enough for the whole van, it was easy to use and the work was finished quickly.

As a final step some people recommend a kind of moisture barrier, a plastic sheet on top of the insulation but underneath your walls. This is meant to stop moisture from the living area (cooking, sleeping, showering etc), getting in to the insulation and getting trapped causing mould or rust. After a lot of thinking though, we decided not to use it because it’s only effective if it’s done properly. You have to really be able to guarantee that there are no gaps or holes anywhere at all, otherwise moisture can still get in and most likely the problem is made even worse as it’s trapped by the ‘moisture barrier’. 

As we couldn’t guarantee this, (especially with all the little nooks and crannies we had to insulate), we decided to leave it open. This left the fibre wool as our last ‘layer’ and we could only hope that it would naturally breath through proper, regular airing ( i.e. opening back doors and side door a couple of times a day, even in winter and always cooking with the window open).

With the insulation finished we could now have a good think about how to approach the cladding and walls.

Cladding & Walls

As already mentioned before, when we started looking for a van we seriously considered buying a finished camper, which would only need a bit of repair/correction work but otherwise ready for the road. After a long, hard search though, with many hours driving all over Germany we were left disappointed. Most of the camper vans in our budget didn’t look anywhere near as good as they did online and most troubling of all was the sterile, impersonal and impractical use of interior space. We wanted something that will cater to our needs and has storage and usable space exactly where WE need it. A bespoke camper however, was obviously completely out of our budget, so the only option left was to do it all ourselves. Our living area had to be cosy, warm and comfortable but still practical and most of all easy to build. For us, a cosy look already starts at the shell, meaning the walls, ceiling and flooring. Wood always has a cosy, rustic and natural look but can, especially in the camper/caravan world, be expensive and add a lot of weight to the vehicle. For this reason we decided again to go for a mixture of materials. On the ceiling, the front panel of the bed and the wall of the wardrobe/electrics cupboard, we used tongue and groove cladding. On the side walls, we made good use of lightweight, 3mm MDF panels and covered them in different fabrics.

The cladding was very easy and quick to put up. As the roof of the van is made of metal and we didn’t want to have to screw each panel directly in to the metal struts, we fixed battens of wood to each of them and then screwed the cladding at regular intervals to these.

As for the cladding on the bed and wardrobe however, it couldn’t have been easier. The tongue and groove system makes the process largely foolproof and again we just needed to screw at regular intervals so that the cladding is fixed to the frame of the bed/wardrobe and won’t move or fall. After fixing everything we oiled it all twice so that the wood was protected and waterproof and that was that. A quite painless part of the whole project and a big step in the process of making the camper ‘home’ completed.

A bit more skill was needed for the side walls. As I say, we decided to go for sheets of 3mm MDF which is cheap and light but of course doesn’t look very nice. Therefore, we chose to pretty-it-up with nice fabric. For the bed area we reused some old sofa throws. 

First, we measured and cut the MDF to fit perfectly along the ever changing shape of the vans sidewall. It’s difficult as we couldn't really hold the MDF up against the wall and measure because the at this point it's simply too big in some places. In other words the wall won’t fit for example between the floor and ceiling which means we basically had to do it in parts or blocks and start cutting at first before you really know for definite if your measurement is 100% correct. 

With the walls measured and cut in to the correct shape and size, we cut an appropriate piece of material out of the sofa throw (leaving around 5cm of overhang) and fixed it with spray-on glue. The overhang was then pulled around and stapled to the back of the MDF giving a nice, clean finish. Finally, the walls were screwed with self tapping screws directly in to the shell and metal struts running along the side of the van. 

In a similar process we continued with the rest of the walls. These were slightly trickier but overall the process was pretty much the same.  We glued the overhang edges down with an all purpose glue, rather than a spray on glue. Instead of using the fabric from the sofa throws we found a sturdy, wipeable and water resistant material on eBay. It’s called Oxford 600d and it's the kind of thing used for camping chairs, tents and general outdoor equipment. It comes in many different colours but we went for ‘Pastel Turquoise’ which reminds us of the colour of the ocean. Unfortunately though, due to it’s brightness it’s a colour which can get dirty quite quickly. A lesson we had to learn the hard way!

After we finished preparing the biggest piece of wall, (the part with the kitchen window in it), we carried it from the garage in to the van to fix in to position. We were delighted with ourselves, the fabric had stuck down nice and smooth on the wall and it looked really great. Then, just as we were climbing in to the van, watching every step as if undergoing a difficult parking manoeuvre, we brushed against the side door and put a big stain directly in the middle of our lovely, perfect wall. 

You can imagine the atmosphere in the room I’m sure. 

Luckily though we managed to remove a little bit of the stain and now after living in the van for a few months, we don’t even notice it anymore. It just a reminder of how such things are never really as bad as they seem in the moment. 

Well that’s all for now. We're gonna try and get updates up more regularly so catch us next time where we'll be talking about the highs and lows of building furniture for a campervan, with no previous experience of carpentry. On the face of it, it seemed like a mad prospect but (spoiler alert!) it all worked out ok in the end.


Donate
January 16, 2017 /Declan Galbraith
Traveller's Diaries, Travel Europe, Child of Mind, Simple life, Van conversion, Self-build, Insulation, MDF, Cladding, Travelling, Travel blog, Life on the road, Van Life, Camper conversion

The conversion part 2

October 19, 2016 by Declan Galbraith

We had laid the foundations for our new home but were still far from finished. The real, big, scary job in the whole process was electrics. Electrics was a must if the van was to become a home that we could really travel in for a long time. Not just some simple USB/12 volt setup to charge a mobile phone either but nice, efficient lights, sockets and power for a cool-box and water pump would all need to be catered for. It just so happens I’m very lucky. I know an excellent electrician who I knew would be more than happy to help us…my dad. This was a great weight off our shoulders. Many hours were spent going through exactly how we wanted things, all of my silly questions were patiently answered and the calculating of lengths and thicknesses of cables and the purchasing of all the materials, was something we no longer needed to worry about. Fantastic! However, before we get ahead of ourselves, there were quite a few things that we had started and wanted to finish and also things that needed to be in place before the sparky could do his magic.


As our light switches and sockets were to be fitted in the front panel of our bed, we needed to finish that off before my dad came over from England to help. Flights were booked so there was no time to waste. Building the bed was easier said than done though. We wanted to maximise the length of the bed and this meant going wall to wall but because we were, after all, building inside a van, there were complications. For example, the bottom of the bed has different measurements to the top and the front of the bed has different measurements to the back. To say building the bed was frustrating would be an understatement. It was a constant process of measuring, cutting wood, checking, remeasuring, recutting/filing, checking etc. Our skills got better as we went along though and it turned out really well. I love the design as it means that we have a big bed in the van but because it’s high, we also still have plenty of storage space. Another reason we wanted to build so close to the van walls was so that we could fix the bed to the metal framework at the side of the van. You learn from the experience though and in the end I would say if we were building it again we wouldn’t bother doing it like this. Fixing the bed to the floor would probably be sufficient and would mean that we could build the bed frame to stop just short of the walls. We wouldn’t have to build to accommodate for any wall curvature and this in turn would mean that the bed frame could have nice, standard, equal measurements all over. Oh well, like I say, you live and you learn. 


Another important area that needed our attention before the electrics could be installed was the ceiling. This was a lot of fun to fit. Just as with the front of the bed we chose to use cladding giving the van a nice cosy, alpine cottage feel. We couldn’t yet fit the whole ceiling as we needed to still be able to easily feed cables through to the lights we had planned for the centre of the ceiling. However, we got the central part done so that the lights at least had a place to be inserted in to and we knew that it wouldn’t be difficult to do the rest when the time came.  


Next up was the kitchen. After all, it would be a bit difficult to sort out the electrics for our cool-box and water pump if there was no kitchen in place. We didn’t need to have everything setup, it was just important to have the main structure in place so that switches and sockets all had something that they could be easily fitted to. We decided to make a very open, frame kind of design for the kitchen. We believed this wouldn’t be difficult to build but I have to stress again at this point, just how lacking in experience we both were. The kitchen became another headache. We just couldn’t seem to get things to fit nicely together. It always seemed to turn out in some way wonky or crooked. Let’s just say a spirit measure can be a cruel invention. If you’re not sure how to correct your errors and each ‘correction’ you try only makes things worse, then a spirit measure just acts as a slap in the face. Anyway, what we lacked in experience we certainly made up for in perseverance and after many alterations the kitchen worked out just fine. It’s quite funny now to look back on the pictures of our initial ideas, the bare bones of the frame. Over time it was adapted and added to, we painted it, cut holes for the sink as well as the tap and the hob, we hung a curtain to hide the water tank and cool-box and slowly but surely we built a kitchen. Albeit a camper kitchen. More from the kitchen and how it developed will be shown in future posts.  


I have literally lost count of how many times we needed to visit the mechanic with the van while doing this conversion. So I can’t really remember why exactly we were there anymore but I know around this time while we were working on the kitchen, we needed to get some repairs done again on the van. This was a very bitter pill to swallow I can tell you. We started out with a small budget and really did not want to and could not afford to go much beyond this. However, the van forced us to. There were repairs we just had to have done. And there is a problem with a project of this kind, in that you reach a certain point of no return. Even though we couldn’t really afford to do the repairs we were obliged to go through with them anyway. We had already spent considerable time, money and effort on the project and although on paper, in pure economic terms, it possibly didn’t make sense to go further, we just couldn’t face giving up, selling the van and starting all over again. We had invested too much. Our planned date for setting off had to be pushed back considerably so we could work some more and make the money back that we had paid out for the repairs. We’re lucky I guess in that we even had this option available to us but it was still very, very aggravating at the time. It wasn’t only frustrating from a financial perspective that the van needed to have repairs done again either. By this point, we only had around 10 days till my dad would be with us to do the electrics. This was a concern but we thought it’s not too bad. The van will be at the garage maybe a few days and then we still have roughly a week to finish the work we needed to have done for the electrics. Then we get a phone call from the mechanic…He needs to order a part and it won’t be here for at least a week and we can’t drive the van until it’s done so the van will have to stay at the garage! Is this some kind of sick joke? Ok now we’re seriously angry! This is really bad news. My dad will only be with us for a few days, the flights are already booked and can’t be changed. But we’re not ready! And what if we can’t even get on with the electrics when my dad gets here because the van’s still at the garage? Oh no, this is not good news! If I were a smoker, at this point I would have smoked a whole packet. Fortunately for my health, I’m not though. So instead I made a cup of tea. I imagine if someone had have taken a picture of me at this point, they could have placed the cliche phrase ‘keep calm and carry on’ as a caption under me and it would have pretty much summed up the attitude of the moment. I mean, once the initial fury and frustration has passed what can you do but keep going? You’re not gonna solve anything by punching anyone or throwing your toys out of the pram. Though initially I would have been very happy to do so. 


Well we looked at all our options, made some calls and arrangements and the drama died down. It was still a very inconvenient time but we at least had a plan of action. We borrowed a car from a family member so we could get around to work and collect parts and materials that we still needed to get. We were lucky in that our mechanic is a family friend and he agreed to let us work on the van at his garage while we waited for the part to turn up and the repairs on the van to be done. This was a real big help as it meant we didn’t really lose any time and could take care of the final and arguably most important job still to be done before the electrics could be fitted, namely the solar panels. It is amazing what deals you can get online these days and really for us solar energy in the van was simply a no-brainer. We don’t want to be forced to go to camp-sites to get our energy. This is because firstly, we don’t have the money to stay on a camp site every night and secondly, it’s not really the experience we want to have while travelling either. It’s much nicer to be wild. Our 2 solar panels are both 100 watts and we found a deal on eBay where we paid less than 200€ for the two. Obviously solar panels aren’t the only factor when it comes to a solar system but nevertheless, you can see how reasonable the price is. Also, when you consider we so far have constantly had enough power to do everything we need, you could probably say it was the best investment we made. Anyway I’m getting ahead of myself again, before we could enjoy the benefits of the panels we first needed to install them. This was fortunately not very complicated and was one less job for my dad. The panels weren’t connected up to any equipment or the leisure battery till my dad was there but we fit them to the roof and fed the cables through from the roof ourselves. To fix the panels to the roof we used a mixture of screws and super strong industrial glue (sika flex 252i). To be honest this method was probably overkill. Many people just use the glue but at least now we have no worries about them being secure. They are, as the Germans would say; “bombenfest”. In essence, it’s no longer only cockroaches that would survive a nuclear holocaust but also our solar panel fixings. 


A few days before my family landed in Berlin we received a very welcome phone call. It was the mechanic, ringing to inform us that the part came earlier than expected and the work had been done. We could come and pick the van up whenever we wanted, with our wallet present obviously. Now the only remaining jobs were to tidy up the flat, wash and organise bedding and go to the supermarket so we had enough food and drinks for everyone. My dad brought a big bag of goodies with him. All the switches, sockets, cables and fuses we needed, plus a split-charge relay system. This is a really cool device that charges our leisure battery off of the van alternator while we’re driving. Most of the time the solar panels are good enough but occasionally, especially in winter, it will come in really handy to be able to top up our battery while driving. We spent the next 4 days getting work on the van electrics done and the April weather didn’t make it easy for us. We constantly experienced a miserable mixture of wind, rain, sleet and even snow but overall, it was a really nice time. In the day we worked on the van and in the evening we had some nice food and watched Game of Thrones season 5. We also got some valuable woodworking tips from my dad and while he was running cables and connecting things, we managed to build a cupboard for the electrical hub and a sealed gas-tight box for the battery. The cupboard also doubles up as a place to store coats, shirts, jackets etc, so that’s very handy. All in all, it was a very productive and enjoyable time. We had originally considered doing half the electrical work ourselves and then just getting my dad over to finish things off but it became quite clear to me when watching him work that this would have been a big mistake. We probably would have made errors that he would have needed to correct. Better to let the professional deal with it when it’s not costing you anything. 


By the time my family flew back home and my dad’s work was finished we knew we had reached a massive point in the project. We had a fully functional electrical system. I still find it so cool that we just get free energy from the sun. And when we want to have light we just flick the switch like we would do at home. Some scary jobs were still laying ahead though. Apart from furniture and further woodwork that needed to be dealt with, we also needed to install gas and water, two areas that can become a disaster if you don't do them right. Oh well, we’re half way up the mountain now…There’s no way we’re looking back.

Donate
October 19, 2016 /Declan Galbraith

The conversion part 1

September 29, 2016 by Declan Galbraith

When standing at the foot of a mountain it’s best not to look up. 

As tempting as it is, if we had have thought too much about all the things that needed doing as part of the van conversion, we would have felt utterly and soul-destroyingly overwhelmed. Therefore, we tried quite early on to make a list of the most important jobs that we wanted to get done over the next week and then simply get on with it all as best we could. Writing up a perfect and exact ‘to-do’ list though was pointless. In the end nothing works out as you hope it will. Things take longer to complete. Parts take an eternity to be found. Whole days seem to be lost inside DIY stores and life in general isn’t too worried about knocking at your door and presenting you with appointments and other reasons to change your plans. So we found out pretty early on that creating wonderful, exhaustive lists and schedules was just a waste of time. And another way of procrastinating but fooling yourself in to believing you’ve done something productive. I can be quite good at that if I’m not careful.

The top priority after buying the van was to get it to the workshop and have a mechanic look it over in detail. There’s no way we wanted to put so much time, money and effort in to the project if the foundations we were building on were junk. This first meeting between our mechanic and our future home proved hopeful but hope can be a cruel and fickle mistress and it turned out to be the first of many, many meetings. It would seem our vehicle quite likes the attention.

At this first check-up the diagnosis was small. New tyres were required and a little bit of work would be needed here and there but overall, it was good news and we were given the green light.

From this point on we became a little bit obsessed with the project. But also more than a little terrified. The realisation of - “This is it. We really have to do it now” - struck a potent cocktail of terror and joy to our hearts and every free moment we had, seemed to be filled with a certain cycle of madness. Order parts…research regulations…research how to install,repair,use it…actually do it…discover problem with vehicle, visit mechanic…scream and shout…order parts…research regulations…research how to install,repair,use it…actually do it…discover problem with vehicle, visit mechanic…scream and shout…order parts…etc! Our life went on like this for about six months. But there were, I have to say, also some amazing moments. Moments of pride, moments when you realise all the things you’ve achieved, things you thought and you had been told you could never do, moments when you learn how to deal with the feeling of desperation, moments, and these are the most important, when you learn and really, truly, fully understand that getting angry and frustrated, or the flip side of that, worrying all the time, really will not help a single thing. It’s quite a rollercoaster and it’s easy to focus on the lows but the highs shouldn’t be forgotten either.

After our visit to the garage we began work inside the van. We didn’t have any tools or space of our own to work on the van and certainly didn’t have the money to buy all the tools needed and rent space. We were very lucky therefore that my partner’s parents allowed us to work on their driveway. Also her father used to sell tools so there were plenty at hand in his garage. The first job was to clean the inside, deal with rust, which luckily we didn’t have too much of, and take out the divider-wall behind the driver’s cabin. The van is thirteen-years old and was previously used as a work van, so to say it needed a bit of a clean and some TLC would be an understatement. To top it all off we began work in winter and this was unavoidable but not a good idea. In east Germany this meant the days felt incredibly short and bitterly cold. A gloomy, snowy misery seemed to engulf the whole project and until about mid-May we felt like permanent residents of Mordor. Beggars can’t be choosers however, and next up was the first half of our insulation. We went for a combination of reflective foil and glass wool. We dealt with the glass wool much later on in the project but the reflective foil was a nice easy job for us to get done in the beginning. It gave a nice feeling of quick and easy progress…didn’t last long. After this nice and easy introduction to the conversion we decided it was time to crack on with some proper work…the windows. The area of the van that was to become our permanent home for at least a year had no side or roof windows originally, we put them all in ourselves. Amazingly for us, this was some of the easiest work of the whole conversion. Building cabinets and getting up the walls was much more stressful than putting in the windows. It’s pretty scary to put a big hole in your vehicle and even more scary to put three in it but as long as you take the time to think everything through and ideally, measure up about six times before you put the power tool in your hand, then you should be fine. It’s actually fairly straight forward, especially if you get a camper window that also has an inner frame (for inside the van). We managed to get some great deals on eBay and our windows are second hand but did the job perfectly. However, one of our windows is unfortunately without the inner frame and this meant we essentially needed to build it ourselves out of wood. Neither of us have any experience of working with wood however, so that was…interesting.    

Up until this point we had been planning on using an imitation wood linoleum on the floor. Our thinking was that it would be fairly easy to fit, easy to clean and relatively cheap. Well I don’t know about the former two because we didn’t get that far. After a visit to the DIY store our assumptions about the price turned out to be very wrong indeed. Even the cheapest stuff wasn’t that different in price to laminate flooring. We shopped around at plenty of other stores, in fact we’re now pretty much on first name terms with the staff of all the DIY stores in our area, but the only decent price to be found was on eBay and we were a bit hesitant about buying the flooring before being able to see it first in ‘real life’, so we were left in limbo wondering what to do. We decided to first get on with over things, somewhat under the motto of ‘out of sight, out of mind’. A few days later however, suddenly and quite out of the blue, the issue was solved for us. Our neighbour from one floor down, full of excitement and enthusiasm for our project came to us with a load of good-quality wooden flooring. His parents had recently ordered too much for some renovation work they were doing on their home and he thought maybe we would like it. The crazy thing is, we hadn’t spoken at all with him about our flooring ‘problem’ and yet he was there with our solution just when we needed it. Nice when things work out like that. His parents would have just burnt it so he didn’t even want any money from us…result! 

Once we had the floor down it was clear that the van was really beginning to take shape. There was still a great deal to do but with the sun shining through the windows that we ourselves had installed, the rays sparkling off of the lovely wooden floor that we ourselves had also installed, well, we felt pretty damn good about ourselves. We took a few steps back to absorb it all and enjoy the moment.

And then it was time to get going again. After all, we knew there was still so much to do. Just how much though, we hadn’t quite realised yet.

Donate
September 29, 2016 /Declan Galbraith
Camper conversion, Child of Mind, Travel Europe, Traveller's Diaries, Van Life

An introduction

September 11, 2016 by Declan Galbraith

It all started sometime in autumn 2015, when we decided to step off the edge, in to the abyss, give up all traditional security, the stability of a fixed address and jobs and begin plans to go travelling. I say it all started then but as with all things in life, it was actually more of a constantly evolving process, slowly forming through years of conversations, experiences, dreams, aspiration and inspiration. At first we weren’t sure if we wanted to go backpacking, hitchhiking and couch surfing our way around Europe, or if we wanted to live out of a camper van. Then the question was for how long do we want to go travelling? And where exactly? And what will happen when we come back? Some said we were being foolish. Apparently we weren’t thinking about our future and when we come back it will be like starting all over again. There were many questions to be answered. Too many in fact and ultimately we decided to not answer them. We don’t know exactly where we want to travel or for how long but then why do we have to know that in advance? And as for not thinking about the future….well that’s kind of the point. We want to live in the now. It is after all, all that we really have, all that we can really count on. We are brought up to always be planning for the future and therefore to believe that the good times are always still to come. It would seem in our society at least, we’ve come to accept that we can’t really live how we may like to right now but one day we will be able to retire and if we’re lucky, we’ll get a few years of freedom. We all know though that the future is not guaranteed. Illness, an accident, financial crisis or any other disaster could be just around the corner bringing our little lives to a sudden and cold end, or at least throwing them in to chaos with no compassion or sympathy for our plans. We all are fully aware that our death is guaranteed, and in the grand scale of the history of the universe, imminent. Yet nevertheless, we seem in denial of our mortality, until, some would say, it is too late. Indeed one could say the grim reaper is always waiting for us patiently in front of the door, it’s simply a matter of when he will knock. This second is the only thing we have, and as soon as you’ve begun to contemplate it, it has already passed. With this fact firmly positioned in the front of our minds, we set out in the final months of 2015, the days falling shorter, the air growing colder, to live in the here and now, our travels being the first dramatic realisation of this.


We were always excited by the idea of converting a van in to a camper from scratch, despite neither of us having any previous experience as builders, mechanics, carpenters etc but the more we looked in to it the more we began to move away from this idea, mainly due to the belief that it would be easier and make more sense to buy something already finished. This however, quickly turned out be completely wrong. We spent months researching and looking for the right vehicle but with a small budget we had no real chance and everything we test drove was a big disappointment. They were either complete rust buckets, or the ‘living area’ was dated and partly broken…sometimes the vehicles we looked at even offered both miserable qualities. So on a cold day in January, after having travelled 7 hours across Germany just to find out the first van we wanted to test drive was already sold and the second wasn’t at all as nice as shown in the pictures, feeling deflated and tired, we decided maybe we were wrong in the beginning…surely this wasn’t the easier option. Maybe we could find a big, empty van and convert it ourselves. It would certainly mean more time and a whole lot more work would need to be invested but at least it would be how we want it. At least we would know everything is in good condition and we would even get the chance to learn something about carpentry and using tools. The search for a van was still not easy and there were plenty of days spent frustratedly test driving vehicles, going through the motions, knowing that it wasn’t for us. At one point we even bought a vehicle, scared that it might be the best we can get, just to end up bringing it back the very next day after a mechanic told us the chassis was in places so corroded, it was literally crumbling away and falling apart. To cut a long and stressful story just a little bit shorter though, I will jump to the part where, in February 2016 in a small village about an hour from Berlin, we bought a 2003 Citroen Jumper. It was far from perfect but we felt the price was fair and it looked nice inside and out. Not too worn out like most of the vehicles we’d seen. And there we have it, finally we were the happy owners of our own long-wheel-base lump of steel on wheels, our future home. We took a days break to completely relax and switch off from everything van related and then when the alarm clock rang the next morning, with a stretch, a yawn, a cup of coffee and an overarching sense of ‘what have we got ourselves in to’, we set on the journey to conversion. And this is where the fun really starts…

iPhone-IMG_4087.JPG
Van Before.jpg

As you can see from the pictures above...it's quite a challenge we set for ourselves turning this van in to a cosy living space. Challenge accepted!

Donate
September 11, 2016 /Declan Galbraith